Even though I purchased a Weaver rope halter specially sized for draft breeds – it was just a bit too small! So then I decided to venture into the scary territory of making my own rope halter for my Belgian (Brabante) mare, Audelina. And trust me, for someone as spacially-challenged as me, 3D stuff and tying knots is scary indeed!
The good news is, I have now figured out all the measurements and sifted through all the knot tying instructions to bring you the easiest route to success!
If you want to make a horse-sized halter, then just follow the regular instructions in the videos and the PDF Instruction Booklet. For a pony-sized or draft-sized halter, you just adjust the measurements as follows:
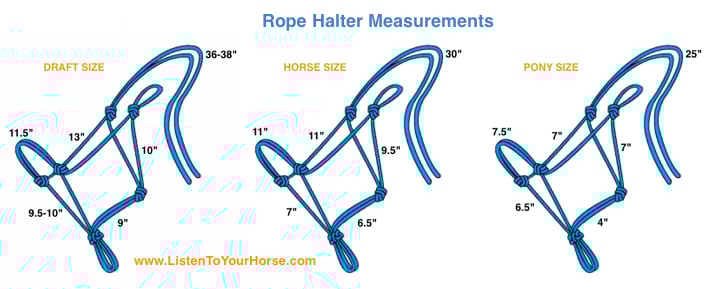
I have also added all the draft-sized measurements to the PDF Instruction Booklet in red, which you can DOWNLOAD HERE.
I found that just using the PDF Instruction Booklet OR following the how-to videos (below) was not enough. I needed to have BOTH open on my computer and flip back and forth between the two to be able to tie the knots properly.
What Kind of Rope?
 The nylon rope halter I ordered from Weaver Leather was a bit too thin, stiff and hard on Aude’s face, for my liking. So I looked for a softer rope and found it at Home Depot. I bought 100 feet of Diamond Braid 3/8″ Polypropylene Rope. On the package it says: Heavy duty, 95 lbs capacity for marine and pool use. It’s very soft and a nice, light weight, so I also used it to make a neck loop for Aude too (instructions below).
If you rely on the halter knots to apply pressure/pain to the face, then this soft rope won’t work well – in that case, use a harder, stiffer rope.
Important Rule For Success
Here’s the $100 tip: After THREE attempts to make a rope halter and still ending up with not enough rope to go over the poll, I figured there must be something everyone was leaving out! Sure enough, another extensive Internet search revealed this one missing piece of instruction – and this first step is probably the reason all the other instructions advise you to use 5 – 10 feet more rope than you think you’ll need.
So. BEFORE you use the PDF Instruction Booklet, or the videos, to start making your rope halter, FIRST do this:
For a draft-sized rope halter, use 25 feet of rope. If you’re nervous, then use 27 feet. Cover the end with masking tape (or sellotape) before you cut the rope to size (otherwise it will unravel very quickly). Leave the masking tape on the rope the entire time you’re working with it.
Fold your length of rope in half, so you have 2 pieces of rope of equal length. From the mid-point, move 3 feet (or 1 metre) to the RIGHT of the the mid-point. This point is your new “middle”. And the left piece of the rope is now 6 feet longer than the right hand side piece.
Note: For a horse-sized halter, you would move 2 feet to the right of the mid-point; so your left piece of rope is 4 feet longer.
Now, you can go ahead and make your first 2 nose knots and carry on as instructed in Step 1 of the video or PDF Instruction Booklet.
Just to clarify: Almost all the instructions (including the PDF and videos here) will tell you to just fold your rope in half and start there. Do NOT do that or you will either waste a lot of rope, or not have enough left to go around the top of the horse’s head. Instead, do as I instructed above to create a new mid-point and make sure your left-hand piece of rope is 6 feet longer than your right piece (if you’re not going to follow my instructions for Step 1, then you’d better use 30 feet of rope for your draft halter).
Okay, now that we’ve set you up for success…
Download the Instruction Booklet first, then have it open as you watch these videos, which will lead you through the process of making your rope halter, step-by-step. Remember to use the lengths given in the booklet (in red) NOT the ones in the videos, if you are making a draft-sized rope halter.
The fiador knot – another thing I changed from the PDF Instruction Booklet is that I did NOT make my bottom loop (under the fiador knot) or my top tie loop 2-2.5″ as instructed. I like to keep the bottom loop (under the horse’s chin) as short as possible to keep them from stepping on it when they graze. Likewise, I don’t see the need for such a big loop at the top (where you tie the halter) either. So I made both of my loops 1.5″ instead.
Nose to fiador knot – the final change I made was to create a little more room for Aude’s jaw to open when she is chewing grass. Hence I have put the measurement for this between 9.5 – 10 inches. If you want it more snug to your horse’s chin, then make that length 9.5 inches. For my halter, I made it 10 inches so she has lots of room to eat comfortably.
Part 1
Part 2
If you find it easier to work freehand, then this next video is the best instruction guide I could find. Again, just change all the lengths to match the lengths given in the PDF Instruction Booklet for a draft-sized horse. And remember to leave 6 feet of extra rope on the left side (the rope to the left of the nose knots should be 6 feet longer on the left hand side):
Finishing The Ends
If you have the thinner, stiffer rope, you can follow the instructions in the video above (at 10:58 minutes) to burn the ends and press them together.
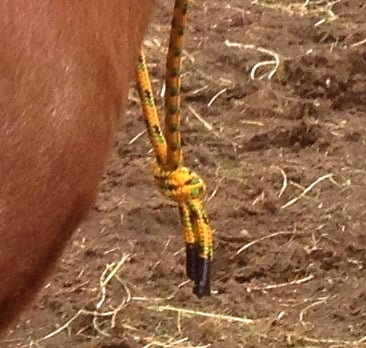
If you have a rope similar to the one I used, then you may want to burn and tape the ends as I have done:
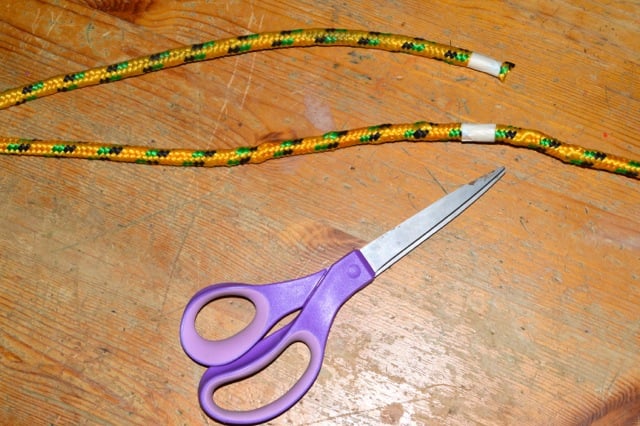
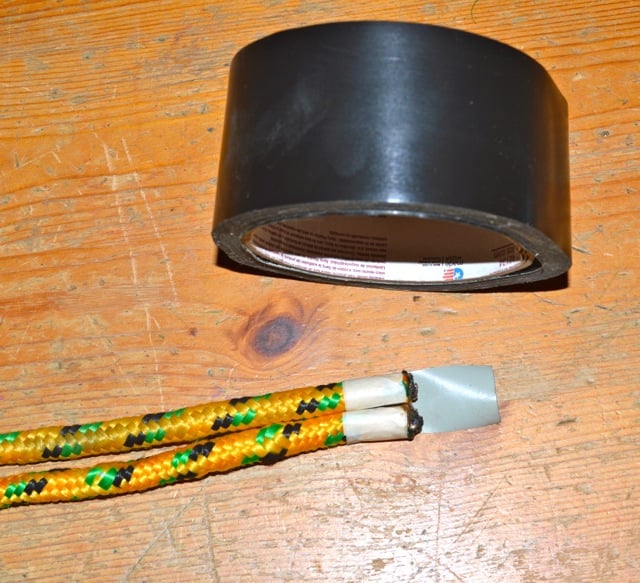
First, tape both the ends with masking tape before cutting as this rope frays super quick:
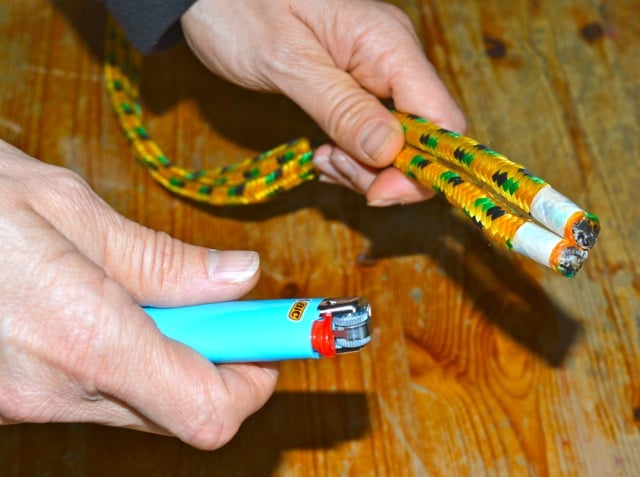
After you’ve cut the ends, use a lighter to burn the ends together until melted. Use an old knife to press the melted ends together and to get rid of any sharp bits:
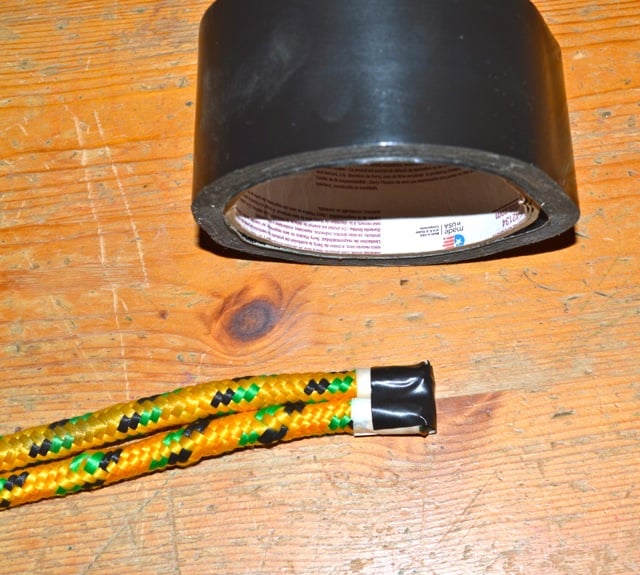
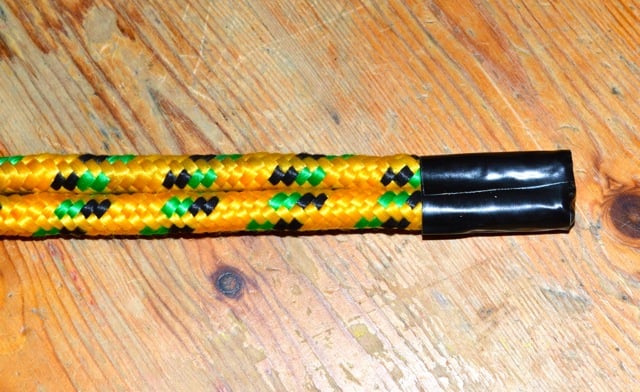
Next I used waterproof plumbing tape (but duct tape would work too) and cut a narrow piece to cover the poky, burnt bits at the bottom:
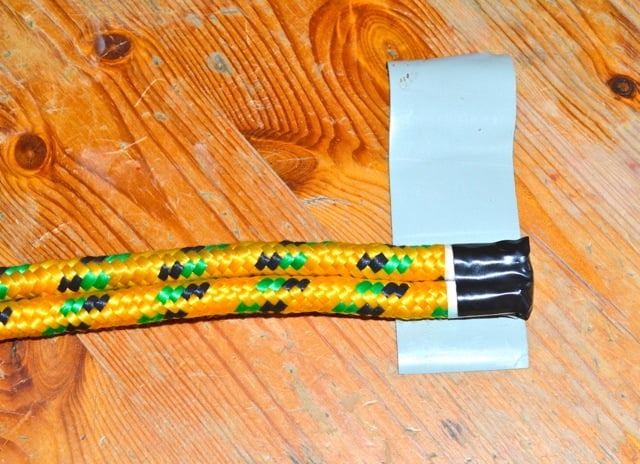
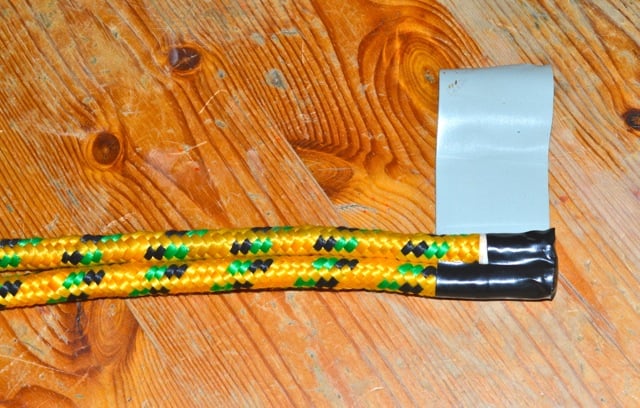
Now use a wider piece of plumbing tape to enclose the entire tip:
If you’re draft is still growing, or has a really large head, make the poll strap 38 inches. I cut my poll strap at 36″ as a Belgian head is usually smaller than a Clydesdale. If you’re unsure, go for the longer length as it only takes 5 minutes to cut the ends and finish them off; you can always make it shorter later if need be:
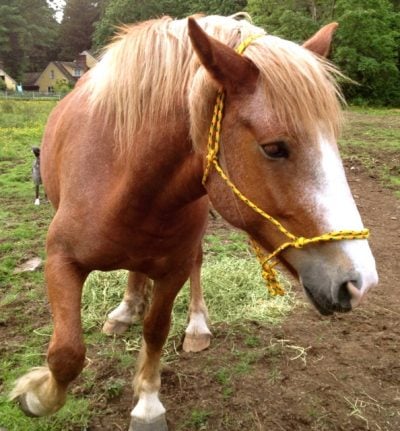
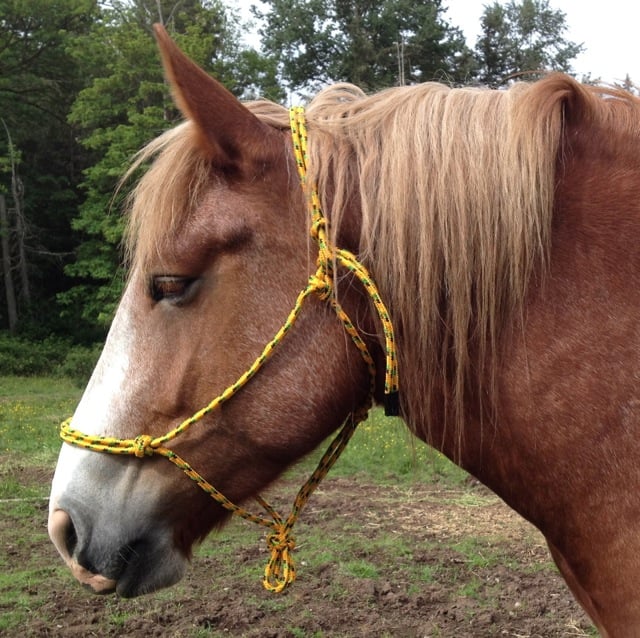
Eh voila! Here’s what it looks like on Audelina:
Now how about a matching neck loop?
Make A Neck Loop for a Draft Horse
If you want to make a simple neck loop for your draft-size horse, you can use the same type of rope. Tie both pieces together with an overhand knot at the end:
Then burn both tips at the end to seal. You can also cover the burnt ends with plumbing tape if they feel pokey. That’s what I did and I used plumbing tape so it would be waterproof, but duct tape would also work well.
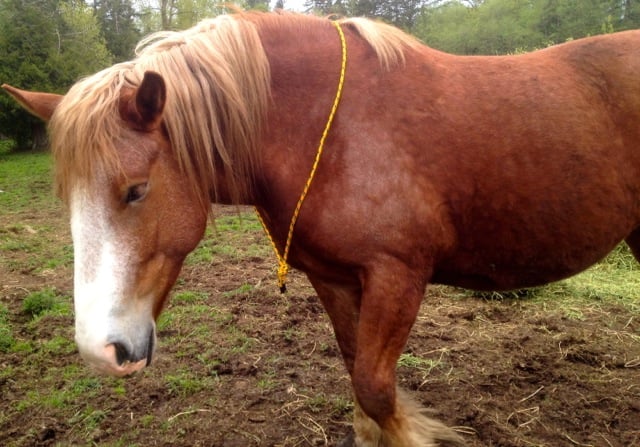
Here’s the neck loop I made worn by Audelina – my Belgian (Brabante) draft:
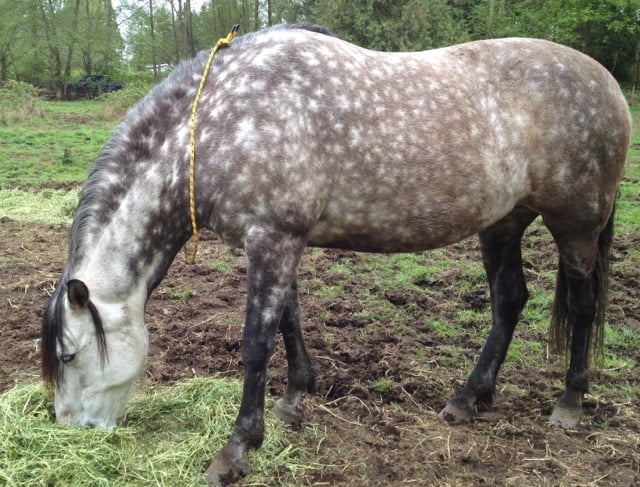
And here’s what it looks like on my Andalusian:
For this size neck loop I used 7 feet of rope. You could also drop to 6’6″ and it would still be plenty big enough.
Note: I first searched for a neck loop to purchase online – thinking maybe a semi-stiff material would be better. I bought Linda Tellington-Jones’ neck loop and I hated it! It was a super rigid ring of plastic and the ends were very sharp – I didn’t even want to handle it myself, let alone use it on my horse. So if you want a stiffer neck loop, it would probably be better to buy a lariat rope, cut it to size. and then bind the ends together using plumbing tape after you burn the ends to seal them.
If you want to prevent your neck loop (or reins) from falling down your horse’s neck (where they might trip on it, or get a leg stuck through it) then just french braid it into the horse’s mane to keep the loop or reins in place:
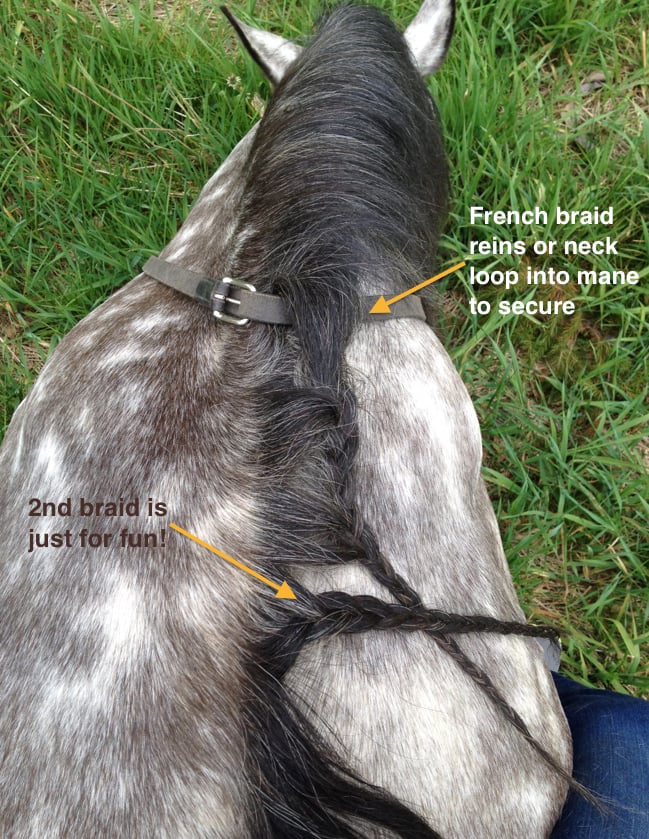
I like doing it this way because the braid will hold without an elastic, and is also quick to undo. But if that looks too complicated, then you could just loop a section of mane around the neck loop or reins and secure it to the next section of mane with a hair clip or hair elastic.

Jini Patel Thompson is a natural health writer and Lazer Tapping instructor. She began riding at age 2 in Kenya, and got her first horse at age 8 in Alberta, and so continues a life-long journey and love affair with these amazing creatures.


They are fun to make once you get going, and give you a great sense of achievement, don’t they.
Yes! And the more spatially-challenged you are, the greater the sense of achievement for sure!
Thank you for the very helpful videos on how to make a rope halter, being spatially challenged and left handed made it even more challenging. Did it on my first attempt with plenty of rope left over.
Awesome Anne! Upload a pic of it on your horse if you can… would love to see it!