 Whether you’re looking for more games to play with your horses, or wanting to see if any of them enjoy jumping, I’m going to show you the easiest (and cheapest) way to make two different kinds of proper horse jumps: cavalettis and jump standards. After that, I’m going to show you a bunch of homemade, crafty ways you can create jumps from stuff you may already have lying around.
Cavaletti Jumps
Cavalettis are hands-down the easiest and cheapest jumps to make (not counting the Creative Horse Jumps at the end of this post!). If you make them properly, by fitting the wood cross-pieces seamlessly together, they take a bit more time to make, but they will also stand up better to regular use and weather. The Texas Horseman’s Directory has put together an excellent free tutorial on how to build these jumps:
Now, if you think you can do a rush job by just using 3-inch screws to screw together a couple pieces of 2×4-inch wood into a cross… don’t. Yep, I tried that and they just fall over! Two inches is simply not wide enough to be stable.
Jump Standards with Adjustable Rails
If you want to make professional-looking jump standards, where you can gradually increase or decrease the height in 4 inch increments, then Lisa from The Budget Equestrian shows us step-by-step how to do it in the video below. However, if you want a quick summary (the video is quite long) or you just need to something to show the builder-person who’s going to build them for you… then I’ve pulled screenshots off the vid to make this quick picture tutorial for you.
Materials:
Three cherry tone landscape timbers – each 8 feet long (square posts)
Two 2″ x 4″ x 8′ pieces of wood
Two pairs of jump cups
3″ deck screws
Note: If you want an even sturdier jump, you can use 4×4″ posts and 2×6″ pieces of wood for the feet.
In the screenshots below, Lisa shows you how to cut up the wood yourself. However, you can also get this done at Home Depot! Then all you have to do is drill the holes, screw together the legs and attach the jump cups. So if you’re going to have the lumberyard guy do it for you, here’s what you have to tell him:
- Cut the timbers (or 4×4″ posts) into 4-foot lengths
- Cut the 2×4’s (or 2×6’s) into 16-inch lengths
STEP 1: Take two, 8-foot long 2×4’s (2 inches x 4 inches), mark and cut them into 16-inch lengths = 12 pieces of wood (so you’ll have 4 extra OR only cut up 11 feet of your wood and leave yourself a 5 foot piece for future projects). These will be used to make the pinwheel legs of the jump. You need 4-16″ pieces of wood for each jump standard, so 8 pieces total.
STEP 2: Then slice off a corner of each leg at a 45 degree angle – you don’t need to do this, it just makes it look nicer aesthetically:
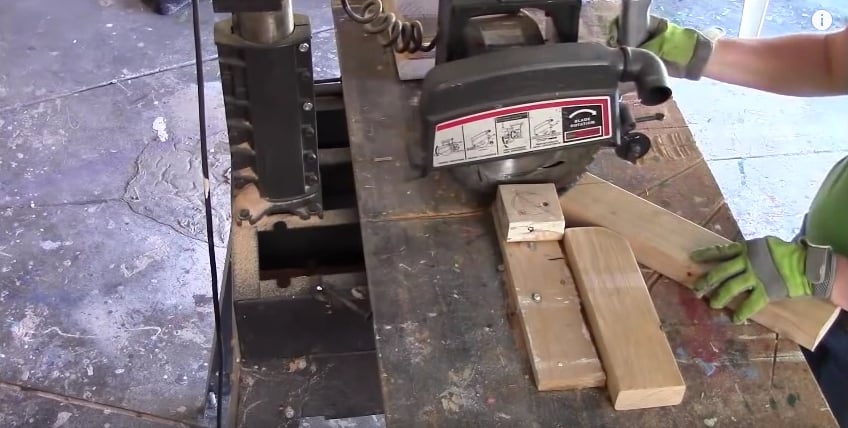
Now all 8 of your pinwheel legs look like this:

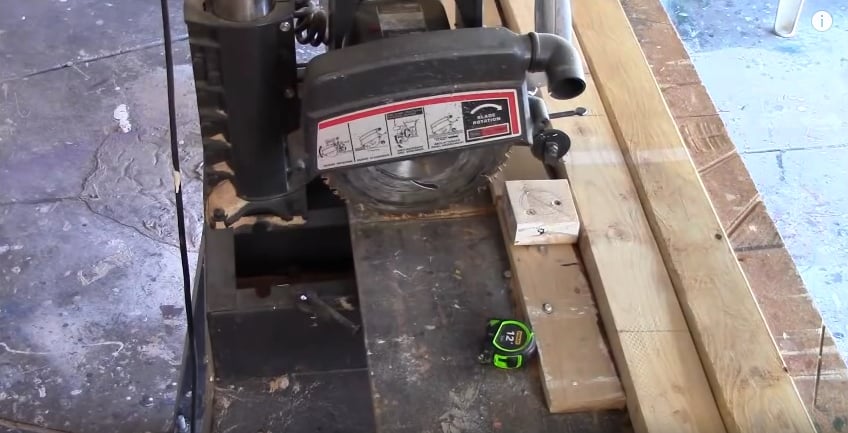
STEP 3: Now it’s time to prep your posts. Take each square post (landscape timber) and cut them in half, so you now have four 4-foot long posts.
STEP 4: Next, mark where you’re going to drill holes into the posts at 4-inch intervals, starting 12 inches from the bottom of each post. Then place them up on a couple 4x4s as shown to get them off the ground (and leave clearance for the drill bit) and drill through each hole. Make sure the size of the hole matches the specification on whichever jump cups you’ve bought (usually 1/4 inch):
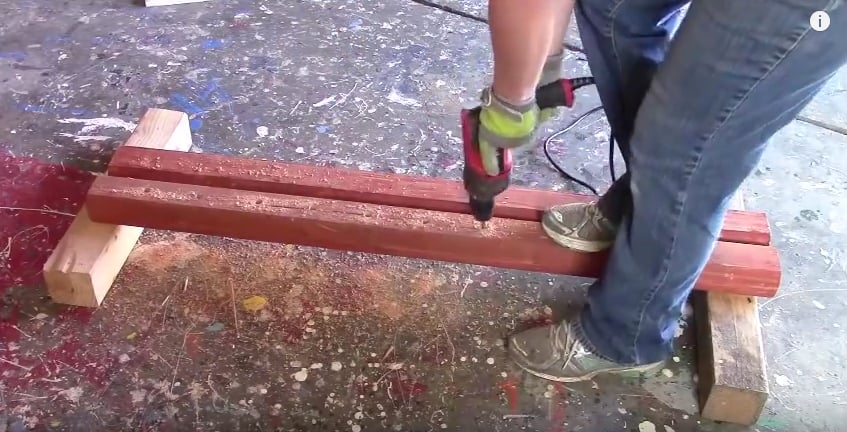
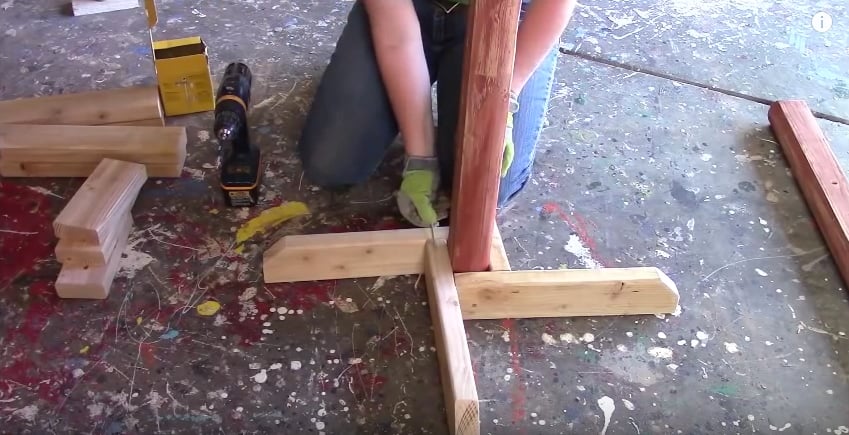
STEP 5: Place 1 screw in the center of each leg to afix a leg to each side of the post. Note how Lisa has stacked wood underneath one end of the leg to keep it flush as she screws. Then she can also use her knee to hold it steady:
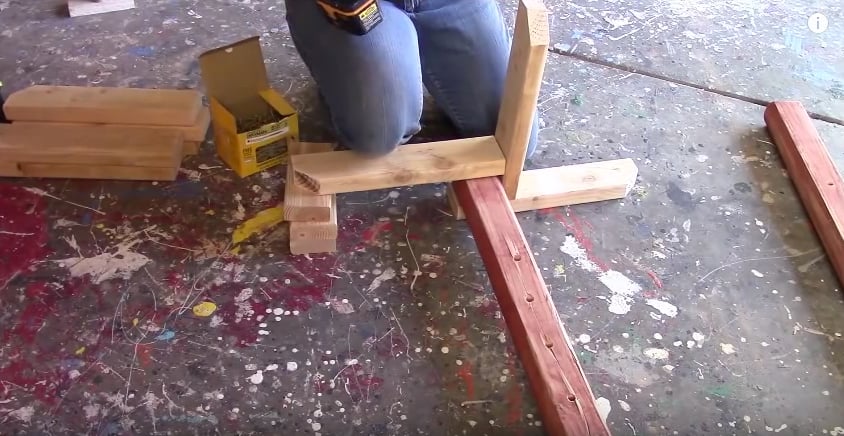
STEP 6: Note here how Lisa is adding another screw sideways (screw into the middle of the wood) into the two 2×4’s to increase the stability of the legs:
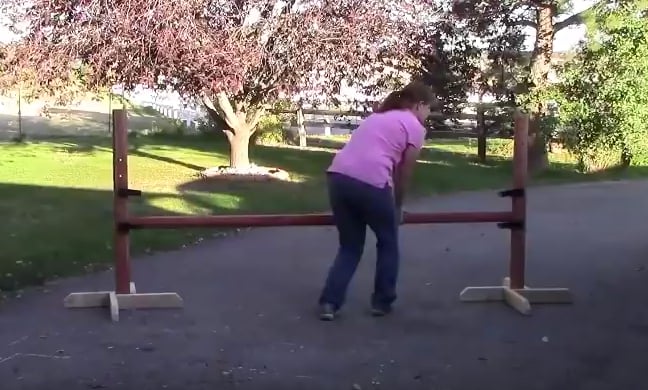
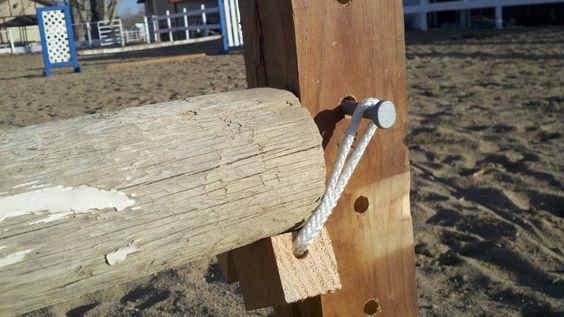
STEP 7: Attach your jump cups (follow package directions) and use the remaining 2 timbers, or posts as your railings. You could also paint this entire jump if you wish – use a primer and an oil-based, rust-proof paint:
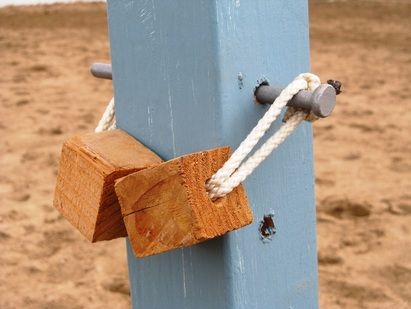
If you wanted to go even more budget, you could make your own jump cups:
And now, here’s the video, showing you step-by-step how to make these easy-peasy jump standards:
Creative Horse Jumps
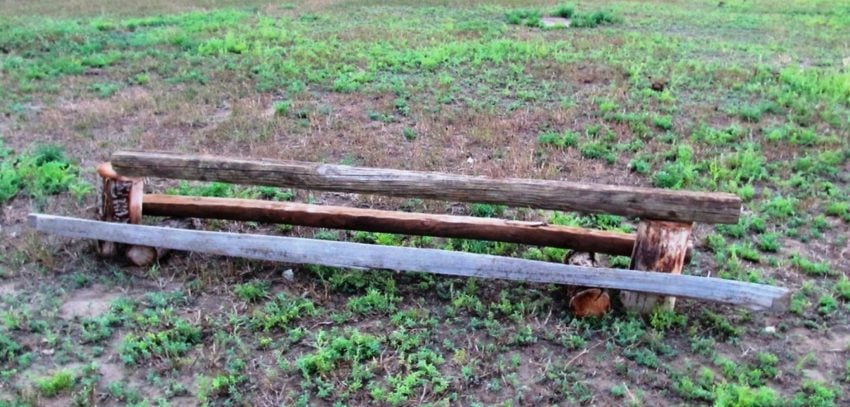
Lastly, let’s look at some fabulously creative ways to make horse jumps using Christmas tree stands, trees, barrels and even, yes, pallets! Christy over at Home Made Horse Jumps has some great ideas like this easy-peasy one:
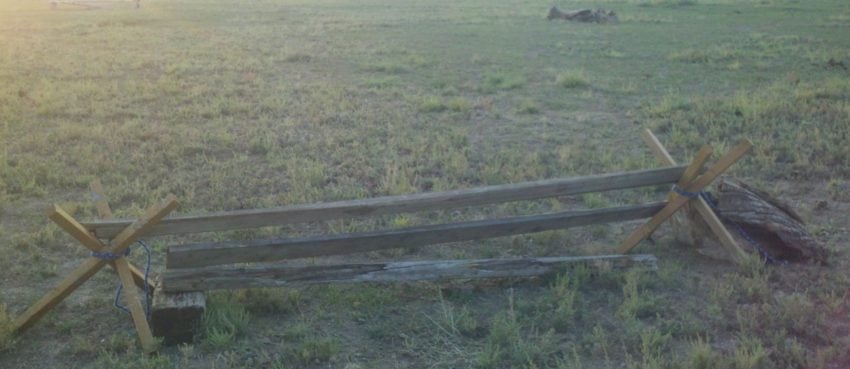
Or this one (now I know what to do with my failed 2×4″ cavalettis!):
If you’ve made your own jumps – please upload a photo in the Comments section so we can see what you’ve done 🙂

Jini Patel Thompson is a natural health writer and Lazer Tapping instructor. She began riding at age 2 in Kenya, and got her first horse at age 8 in Alberta, and so continues a life-long journey and love affair with these amazing creatures.


Thanks Jini…as you might of seen in my dreamer training video, I referred you to, about whips I have some old telephone poles that I use, but the jumps you are showing here look awesome. Im so thankful as my husband can build anything so since Dreamer does seem to like to jump (when it’s not slippery) it would be great to have some I could raise up higher as we both progress. Your blogs are always so informative from every direction. What a great horsey friend you are to have. I will posts some pics after we make one. ✌?️❤️?
Oh cool Michelle! Can’t wait to see what you come up with! 🙂